How to Color Buttercream?

In the days of yore, bakers could only dream of the vibrant buttercream hues we have at our disposal today. Now, you’re poised at the threshold of creating a spectrum of shades that could rival a painter’s palette, but the path from plain to picturesque isn’t just a matter of mixing any dye into your frosting.
How to color Buttercream? You’ll need to choose your coloring agents wisely—opting for gel pastes over liquid for their intensity and consistency. It’s also crucial to understand how the base color of your buttercream influences the final outcome, a task that requires a bit of color theory knowledge.
As you embark on this journey, remember that the type of buttercream you wield as your canvas will affect how colors manifest. If you’re curious about how to achieve precisely the hue you’re envisioning, or if you’re eager to troubleshoot common pitfalls before they arise, stay tuned.
Key Takeaways
- Opt for concentrated gel colors for bright and rich colors in buttercream icing
- Mixing primary colors can create a range of other colors
- Consider the mood you want to create and choose colors accordingly
- Add a little bit of strong gel color at a time to maintain texture and avoid over-coloring
Read: Recipe for Lemon Torte Dessert
Choosing Your Food Coloring

Choosing the best food coloring is key to getting bright and rich colors in buttercream icing. Concentrated water-based gel colors, like those found in Americolor Soft Gel Paste Kits, are a great choice. They’re so pigmented that you only need a tiny bit to get the color you want, which means the texture of your buttercream won’t change.
When you’re looking into gel food coloring, kits such as the Nifty Fifty Kit or Heavenly Seventy Kit are fantastic because they offer a wide range of colors. This variety is perfect for experimenting and mixing your own unique colors using basic color theory. For those who want to get an exact color match, the Wilton Color Right Food Coloring System allows for precise adjustments. You can add just a small amount of color at a time, making it easier to get the perfect shade. It’s a good idea to try your color mix on a small amount of frosting first before coloring the whole batch.
Looking at different brands and types of food coloring can help you find the exact colors you’re imagining for your creations. The importance of choosing your food coloring carefully can’t be overstated—it’s the first step to making beautiful buttercream.
Understanding Color Theory

To really get good at making colored buttercream, it’s important to start with the basics of color theory. This means understanding how mixing primary colors (red, blue, and yellow) can create a whole range of other colors, and how choosing colors that are opposite each other on the color wheel can make your cake decorations really stand out.
The colors and type of buttercream you choose will be key in getting the exact look you want, whether that’s calming shades of blue for an ocean-themed cake or a bright baby blue for a fun baby shower atmosphere.
Here’s what you need to keep in mind:
- Start with Primary Colors: Mixing red, blue, and yellow in different amounts can give you nearly any color you want. For example, if you mix more red with a little blue, you’ll get purple, which is great for a lavender field theme.
- Use Complementary Colors for Impact: Combining colors that are opposite each other on the color wheel, like red and green, can make your cake decorations really pop. This contrast grabs attention and can make your cake more visually interesting.
- Play with Tints and Shades: By adding white or black to your base color, you can change the vibe of your cake. A darker color might make it look more sophisticated, while a lighter color can make it feel gentle and bright.
Understanding these principles of color theory helps you confidently mix buttercream colors, turning every cake into a beautifully decorated masterpiece. Remember, the colors and buttercream you choose will greatly affect the final look, so think about the mood you’re trying to create and choose your colors accordingly.
Read: How to Make Coconut Water at Home?
Mixing Colors for Buttercream

How to color Buttercream? When you start mixing colors for buttercream, it’s best to begin with white buttercream. This helps you get the most accurate colors for decorating your cakes. If your buttercream looks a bit yellow, using an icing whitener can make it white again. This step is important because the starting color of your buttercream affects how the final colors turn out.
Understanding color theory is helpful for making a wide range of colors. For example, mixing yellow and blue makes green. However, the color of the buttercream base can change the final shade, so you might need to adjust how you mix your colors. Start with a small amount of gel color since the color can get darker over time.
Different types of buttercream might need more or less color gel to get the color you want. It’s a good idea to try different methods, like the microwave method, to mix color into large batches of buttercream evenly. To get a specific shade, such as olive green, adding a bit of brown to your yellow and blue mix helps. Getting the exact color you want takes time and creativity.
For example, if you’re looking to achieve a perfect shade of blue, start with a small amount of blue gel color and add more as needed. Remember, some buttercreams might absorb color differently, so what works for one recipe mightn’t work for another. It’s all about experimenting and seeing what works best for the effect you’re aiming for.
Coloring Large Batches

When you’ve got the hang of mixing colors in small amounts, it’s time to tackle larger volumes of buttercream. Making sure every bit of your buttercream is the perfect color and consistency is key.
Here’s a straightforward guide to get it right:
- Begin with Tiny Steps: Start by adding just a little bit of a strong gel color, such as Americolor gel, into your buttercream. This approach helps you maintain the ideal texture while still getting the color you want. It’s a simple rule: it’s always easier to add more color than to try and fix a mix that’s too dark.
- Give It Time: Once you’ve mixed the color in, don’t use it right away. Letting your colored buttercream rest for a while can do wonders. Colors often get richer or more accurate with a bit of time, saving you the hassle of adding more dye.
- Try New Methods: Don’t be afraid to experiment with different buttercream types and ways to color them. For example, adding color to the meringue before you mix in the butter, or using the microwave briefly, can lead to exciting colors and effects. This is particularly helpful when you need multiple colors or are striving for challenging shades like a true white.
Read: Best Summer Drinks Starbucks
Fixing Common Coloring Mistakes

Even if you’re really good at baking, sometimes the color of your buttercream won’t turn out how you expected. But don’t worry, there are easy ways to fix it so you can get the color just right.
If your buttercream is too dark, adding some more white frosting bit by bit can help lighten it up. This is because you’re making the strong color less concentrated, giving you the chance to adjust until it looks just how you want. Remember, it’s better to start with a little color and add more if you need it.
If your buttercream is too light, you can add a tiny bit more of the gel color you’re using, a little at a time, until it’s perfect. This way, you won’t accidentally make the color too bright. But if you do, mixing in a bit of bright white buttercream can tone it down. This trick can really change how your frosting looks without having to make a new batch.
If you’ve mixed colors by mistake or if the color looks blotchy, it might be best to start fresh with new, uncolored buttercream. Add your color slowly, mixing well, and let it sit for a bit. Colors sometimes need a little time to blend in smoothly. Being patient and careful when adding dye helps avoid these common mistakes.
Here’s why this matters: getting the color of your buttercream right can make your baked goods look as good as they taste. Plus, understanding how to correct color issues saves time and ingredients. It’s also a chance to experiment and get creative with your baking projects.
Read: How Is Turkey Bacon Made?
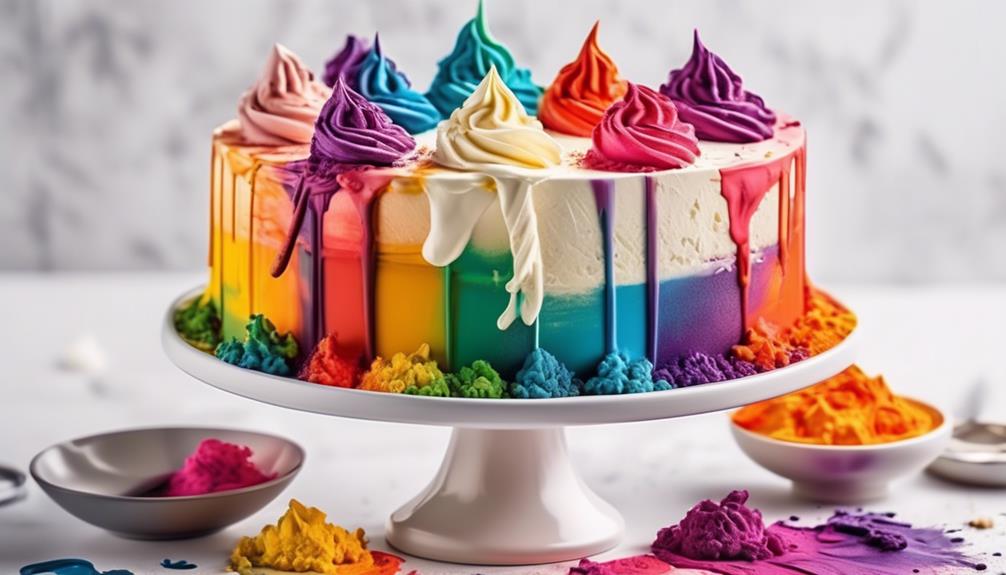
Creating Rainbow Buttercream Frosting

Master the art of making vibrant rainbow buttercream frosting to make your baked goods stand out. Whether you’re using Swiss meringue, American buttercream, or a cream cheese base, it’s essential to start with white buttercream to get those bright, true colors. Here’s how to do it in three simple steps:
- Pick the Right Base: Start with a white buttercream, like vanilla or white chocolate. If your buttercream looks a bit yellow, using an icing whitener can help you get a crisp white base.
- Learn About Colors: Understanding color theory is crucial. The original color of your buttercream will change the final color. For example, mixing blue into buttercream with a yellow hint will give you a greenish color instead of blue.
- Try Different Coloring Methods: Use concentrated water-based gel colors for vibrant shades. Depending on the type of buttercream, you might find it easier to color the meringue part before mixing in the butter when making Swiss meringue buttercream. Letting your colored buttercream rest for a bit can also make the colors richer and deeper, perfect for that rainbow look.
Why is this important? Using a white base helps make sure your colors turn out exactly as you want them, bright and clear. Plus, knowing a bit about how colors mix can save you from unexpected results. And using the right coloring method can make the process smoother and the outcome better. For example, Americolor and Wilton are two brands known for their vibrant gel colors, perfect for this kind of project.


